Ask the Builder: Your chimney could be the source of your roof leak

Roof leaks plague countless homeowners each year. Talk to experienced roofers, and they’ll tell you the vast majority of leaks happen at flashings. A roof flashing is a transitional material. It connects your roof to something that’s not your roof.
Plumbing vent pipes, dormers, turbine vents, chimneys, pot vents, powered attic ventilation fans, solar-array-panel brackets, etc., are all examples of things that are not a roof but found on roofs. Experienced roofers know how to flash around all these things. What’s more, they know the best flashing material to use.
Flashings should be made from materials that will last longer than the actual roofing material. Caulk is not in this list. Tin-coated steel used to be the flashing material of choice by roofers for well over 100 years. But restrictive EPA laws have kicked that wonderful material to the curb because it contained lead. Sheet lead and copper are excellent flashing materials, and I find it quite curious that sheet lead is readily available while tin is not. Go figure!
Two weeks ago I had a business conversation with a peer. She owns two homes, one on Cape Cod in Massachusetts and the other one in Connecticut. At the end of the conversation she told me her Connecticut home has a roof leak seven or eight months out of the year.
“The ceiling area near my brick chimney gets wet,” she said. “I never see moisture in the deep winter months. A roofer looked at the chimney and found two small holes in the counter flashing where nails had rusted away. Perhaps that’s the source of the leak.”
Her simple statement of the facts gives all sorts of clues as to what the source of the leak might be. Did you pick up on any of them? My leak radar was immediately set off by the fact it’s a brick chimney.
This smart woman is also a semi-professional photographer. She used a telephoto lens to take closeup photos of the chimney from the ground. I could see she had a very nice metal chimney surround that appeared to be in very good condition. For me, this meant the leak was probably not caused by the chimney crown.
Think of your chimney as a tiny house that sits up on your roof. It needs a roof of its own. Chimney crowns are roofs for a chimney and the vast majority of them are installed incorrectly. The Brick Industry Association (BIA) developed years ago the most authoritative set of instructions on residential chimneys, including how to make a chimney crown waterproof. You should get this free PDF download from their website.
I shared with my friend my thoughts about her roof leak based on the evidence she provided. Keep in mind this is a 200-mile-away diagnosis, since I wasn’t about to drive to her home and get up on her steep roof in the middle of winter to do an on-site inspection. A drone with a high-resolution camera could do this inspection, and I can assure you if I was still in the home-repair business, I’d own one.
I told my friend that my money was on her chimney bricks and mortar. Based on the Three Little Pigs fable, you may think that brick is the ultimate building material. While a brick home can resist the powerful exhalation of a wolf, it’s no match for wind-driven rain served up by a wicked Nor’easter.
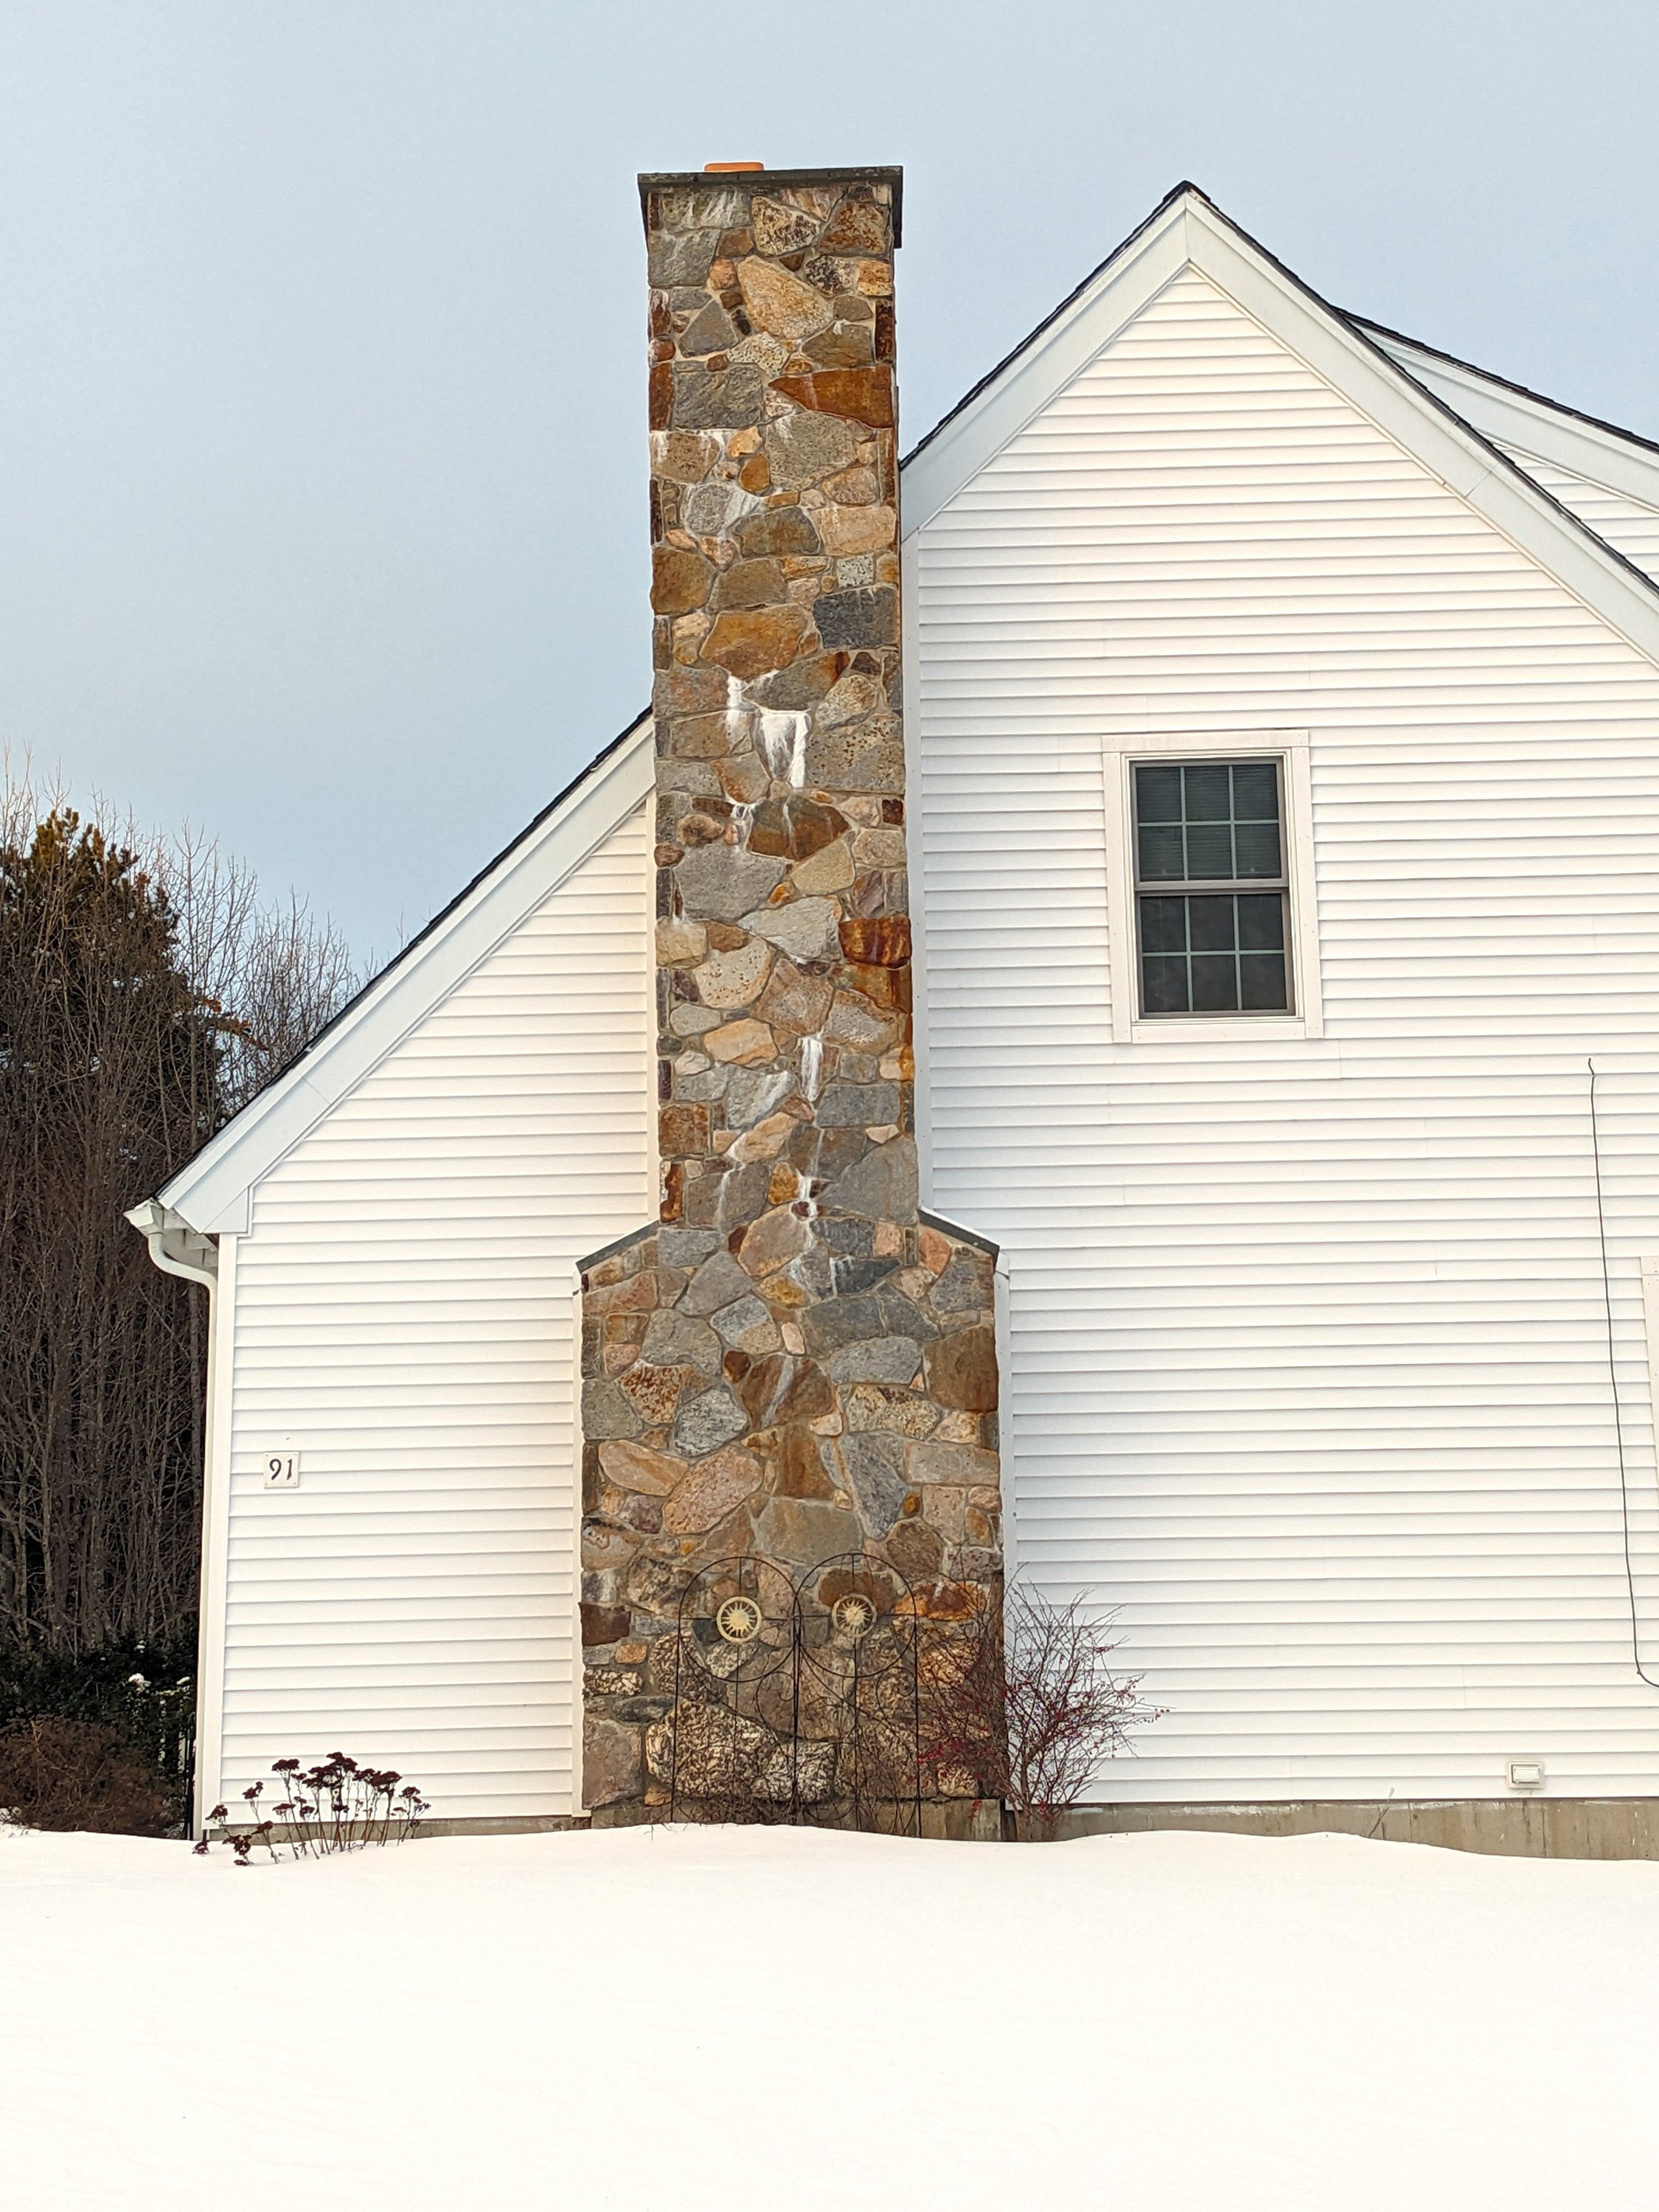
You can view videos on YouTube showing water pouring down the backside of brick veneer. A house just one mile from my own has a stunning stone chimney. It’s leaking water. Each time I drive past it I see the growing snow-white patch of efflorescence salts. These salts show exactly where water that is entering the stone above and seeping back out to the surface. The water evaporates and leaves behind the salt it dissolved from the mortar used to cement the granite stones together.
Think of wind-driven rain like a hammer and nail. Each time a raindrop slams into the mortar between the brick and stone, it drives the water from the previous raindrop deeper into the chimney. Add to this the force of the wind blowing against the chimney face, and you can have pints of water entering a chimney during an extended storm.
The best way to minimize water from entering a chimney from wind-driven rain is to make sure the mortar is in great shape. You may have to repoint the chimney first. I suggest you read the past columns at AsktheBuilder.com about repointing (also known as tuckpointing). I share how to ensure the new mortar you use matches the existing.
You should also inspect the chimney crown. Be sure it is in great shape and is constructed per the BIA guidelines. You may discover it makes more sense to purchase a high-quality chimney crown surround.
Finally, apply oil-based silane/siloxane water repellent to your chimney. Read the label instructions. Wait too long in between coats and the first coat may prevent the second coat from seeping into the mortar.
The sealing process works best with two people. One person applies the sealer using a hand-pump garden sprayer. A second person operates a backpack leaf blower aimed at the chimney. The air from the blower drives the sealer deep into the brick and mortar.
Subscribe to Tim Carter’s newsletter at AsktheBuilder.com. Carter offers phone coaching calls if you get stuck during a DIY job. Go here: go.askthebuilder.com/coaching